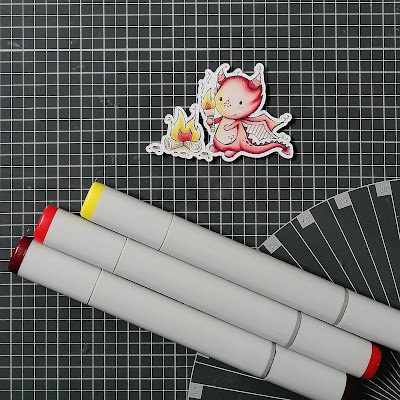
I always start with printing and cutting out the stamp. The next step is colouring the image with Copic markers. These are the combinations I used:
- Dragon: R39, R35, R32, R30, R00, R000
- Fire: R35, R14, YR14, YR61, Y19, Y15, Y13
- Wood and ground: E44, E43, E42, E41
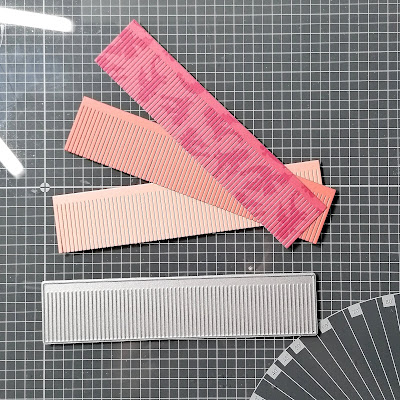
I cut out some fringes from one of the patterned papers from the Year of the Dragon collection, and two coordinating cardstock colours.
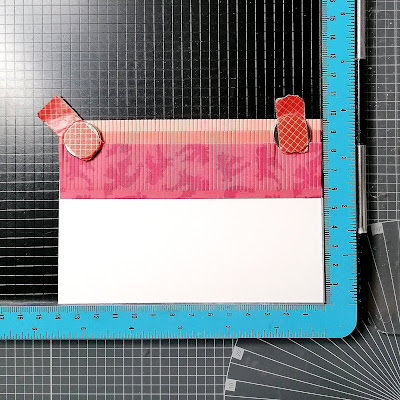
I glued the lightest fringe on the bottom of my base card, and I drew two lines above it, each one 6 mm apart. These are guidelines to glue the other two fringes on the card.
I cut out the top panel of my card, using a rectangle stitched die and a curved stitched die. I measured where I wanted my dragon on my card, and I created the ground by placing different shades of dots close to each other.
I put some foam tape behind this panel.
I placed my base card in the corner of my stamping platform. This is an easy way to glue the panel straight.
I white heat embossed my sentiment on a black cardstock strip, adhered some foam tape on the back, and glued it on my card.
I put some foam tape on the back of my dragon image, and glued it on my card.
And the card is finished! I really enjoyed creating this card, and I love the fringes!
If you haven't checked out the Year of the Dragon collection from Rachelle Anne Miller yet, you really should!
Have fun creating!
Tinne

.jpg)


.jpg)
.jpg)