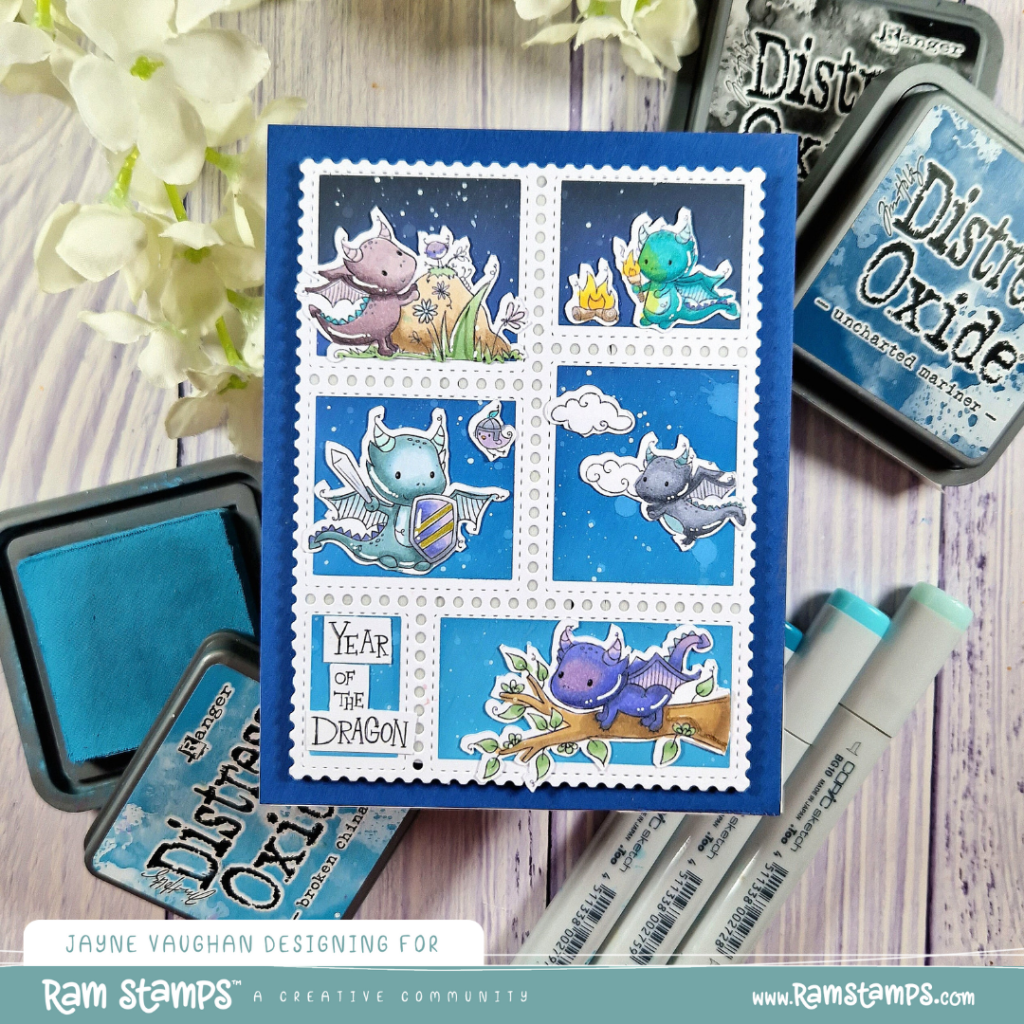
Hey friends, how are you? Sorry I’ve not posted in a while – I’ve been really busy with a new project that has taken up a lot of my time! I’ll post about that shortly, but for now – I’m sharing some inspiration using the new release from RAM Stamps! This year is the Chinese Year of the Dragon, and Rachelle has brought out an awesome range of dragon images to celebrate.

I was having a hard time deciding which of the adorable dragons to use, so I thought… why not showcase all of them? Each dragon represents a different element – earth, water, fire, metal, and wood. I copied and pasted each of the images into a Word document and resized them to be small enough to fit on my card, then I printed them out on alcohol-marker friendly paper.
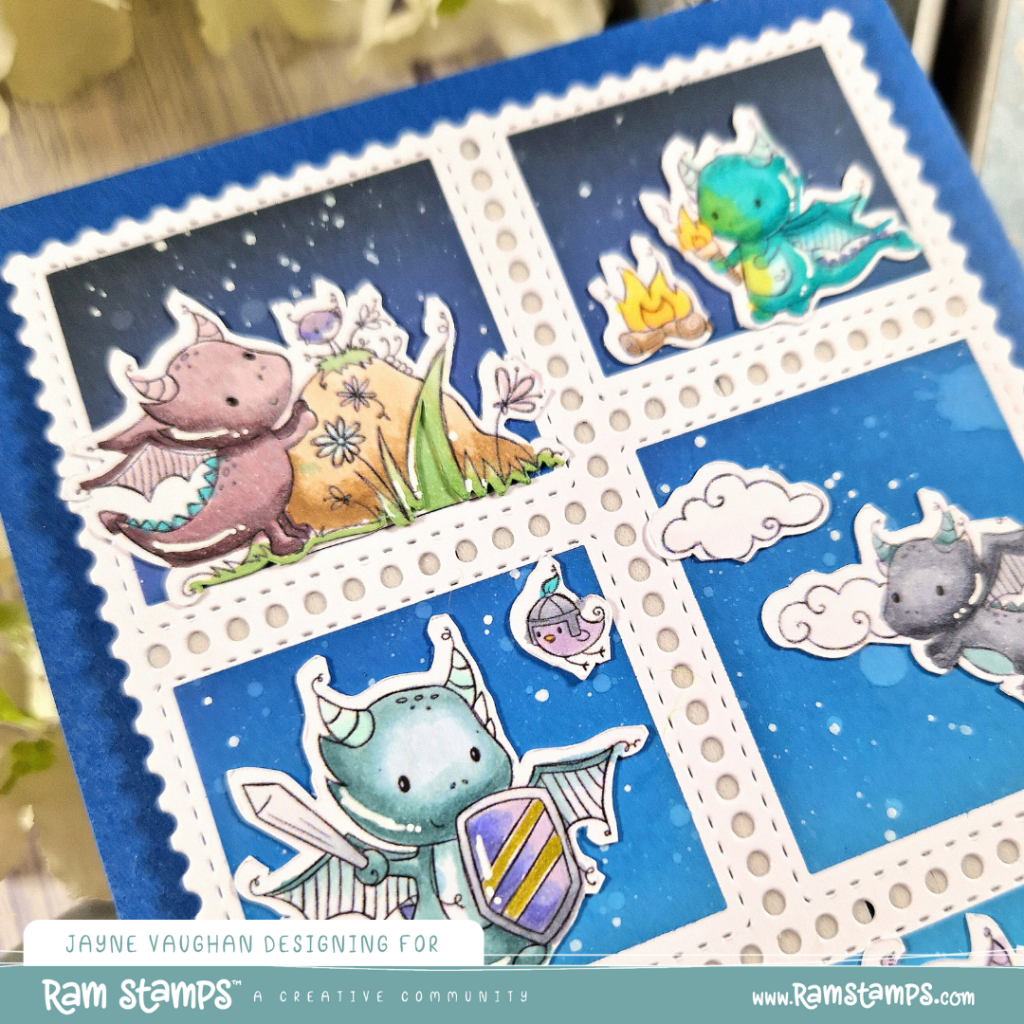
Next, I used my Brother Scan N Cut to cut out each of the images, and I coloured them with Copic markers (colours listed below), before adding some white gel pen highlights:
Purple (bottom row): BV17, BV13, BV11
Purple (top row): V99, V95, V93
Blue-greens (middle row): BG75, BG72, BG70
Blue-greens (top row): BG49, BG15, BG10
Greys: C7, C5, C3
Tree: E55, E33
Rock: E44, E42, E40
Yellows: Y38, Y17, Y15
Greens: G24, G21, G00*
*I find the best prices for Copics generally to be at Scrapbookpal.com in the US, or Cult Pens in the UK.

Next up, I die cut the Postage Collage frame from Waffle flower, and used the co-ordinating stencil to ink blend a night sky into each of the “stamp” sections. I used distress oxides in Black Soot, Unchartered Mariner and Broken China. I use blender brushes because I find they give a nice smooth transition between colours, and good even coverage. I then flicked some white Copic paint over the background to create stars.
After removing the stencil, I added some foam tape to the back of the die cut panel and popped it on to a navy blue panel of cardstock (cut down to A2 size). I then arranged my dragons in each of the apertures, and adhered them with liquid glue. I fussy cut the “Year of the Dragon” sentiment and added that to the final aperture.

Thanks for stopping by again, and I’ll be back soon with more inspiration!
