BLOG POST BY BOBBI
Bobbi's Blog
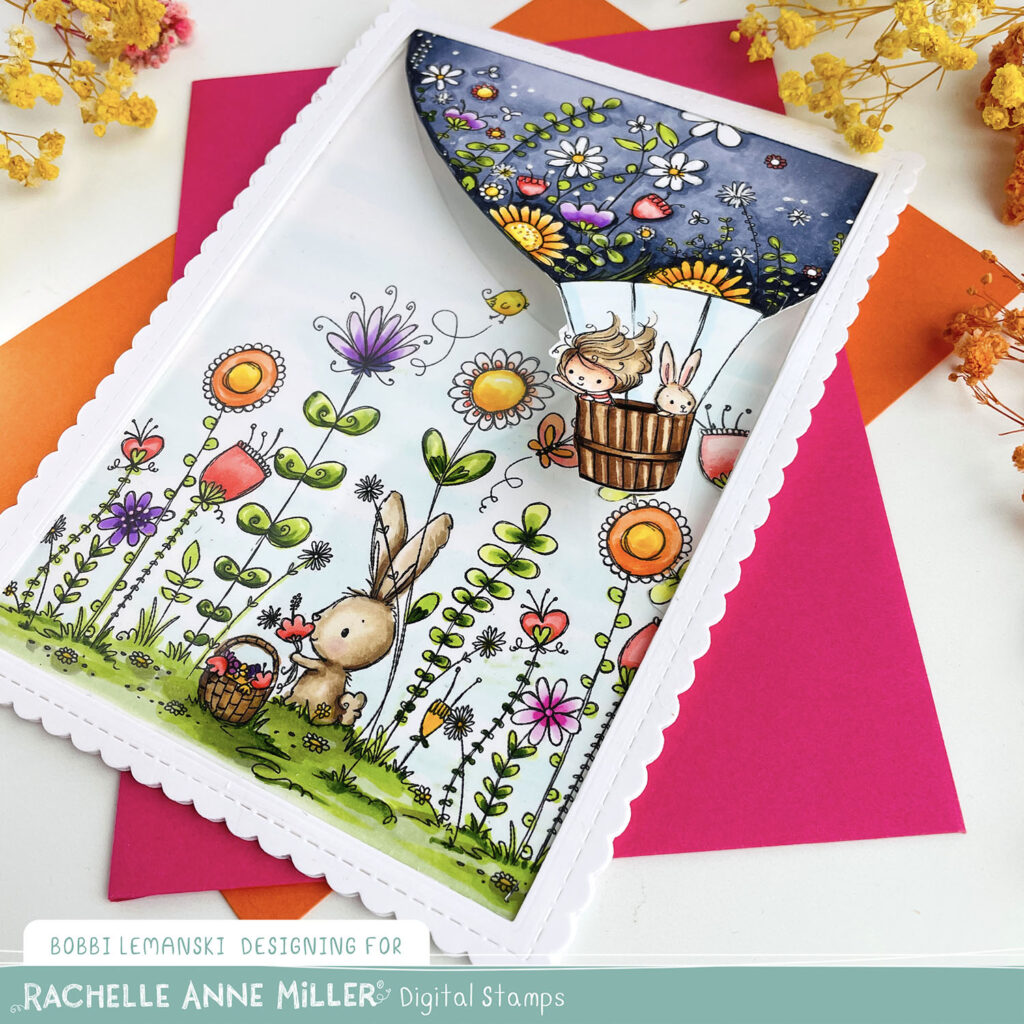
Hello friends. Today I’m sharing a card using Rachelle Anne Miller’s digi stamps. Rachelle’s style is very storybook and sweet and simply adorable! I combined of my favorite sets, Hot Air Balloon and Bunny Garden for Easter week. I just had to include a bunny in this card since Easter is almost here! The design of this card uses an acetate front window, allowing both the front and interior panels to show together for a full scene of land and sky!
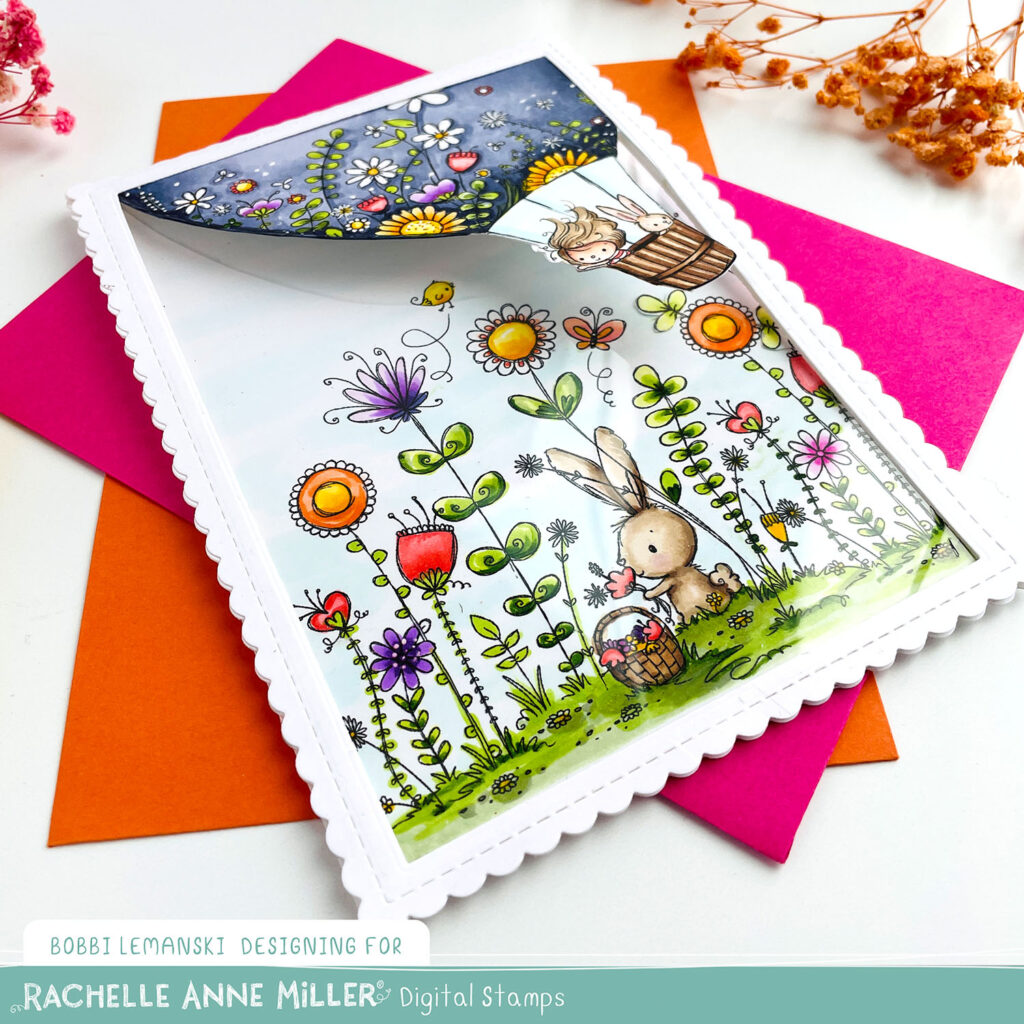
My card is 5″ X 7″ and flips open at the top. To make this card, I used the Scallop A7 card frame die from Honey Bee Stamps to cut two white frames. I used a Sweet Stacks Rectangles dies by Honey Bee Stamps to cut out the center of both scalloped pieces. (Note: with the rectangle, sometime I need to run it through the cutter twice to get enough length to cut out the inside. It depends on your window size and how much frame you want left around the edges.) I added an acetate sheet in between them to create the window. I set them aside for the time being and worked on the art.
Using my laptop and printer, I printed out the bunny garden to fit 5″ wide and trimmed it down to 5″ wide by 7″ tall. I colored the design using Copic Markers in brightly saturated colors.
- Greens: YG67, YG63, YG61, YG03, YG00
- Blues: B000, B00, B00
- Browns: E57, E55, E43, E40, E11, E00, E000, E04, E21
- Pinks: RV09, RV55
- Reds: R24, R17, R14, R22, R20, R05
- Yellows: Y38, Y19, Y15
- Oranges: YR68, Yr61, YR04, YR14, YR01
- Purples: V09, V05, V04, V00
- Blue Violets: BV29, BV25, BV23, BV20 (hot air balloon background color)
I printed out the hot air balloon image to fit the scene. Using the same colors listed above and the addition of the deep blue violets for the background, I colored in the balloon and basket and cut it out. I attached the balloon to another piece of white cardstock and then cut out the layered pieces together.
I also cut a piece of white cardstock 5″ wide X 7-1/3″ tall. I scored at 1/3″ from the top. This section is the hinge that will be sandwiched in between the front frames to conceal it while connecting the front and back panels together. The bunny garden piece was attached to the back panel to complete the inside panel.
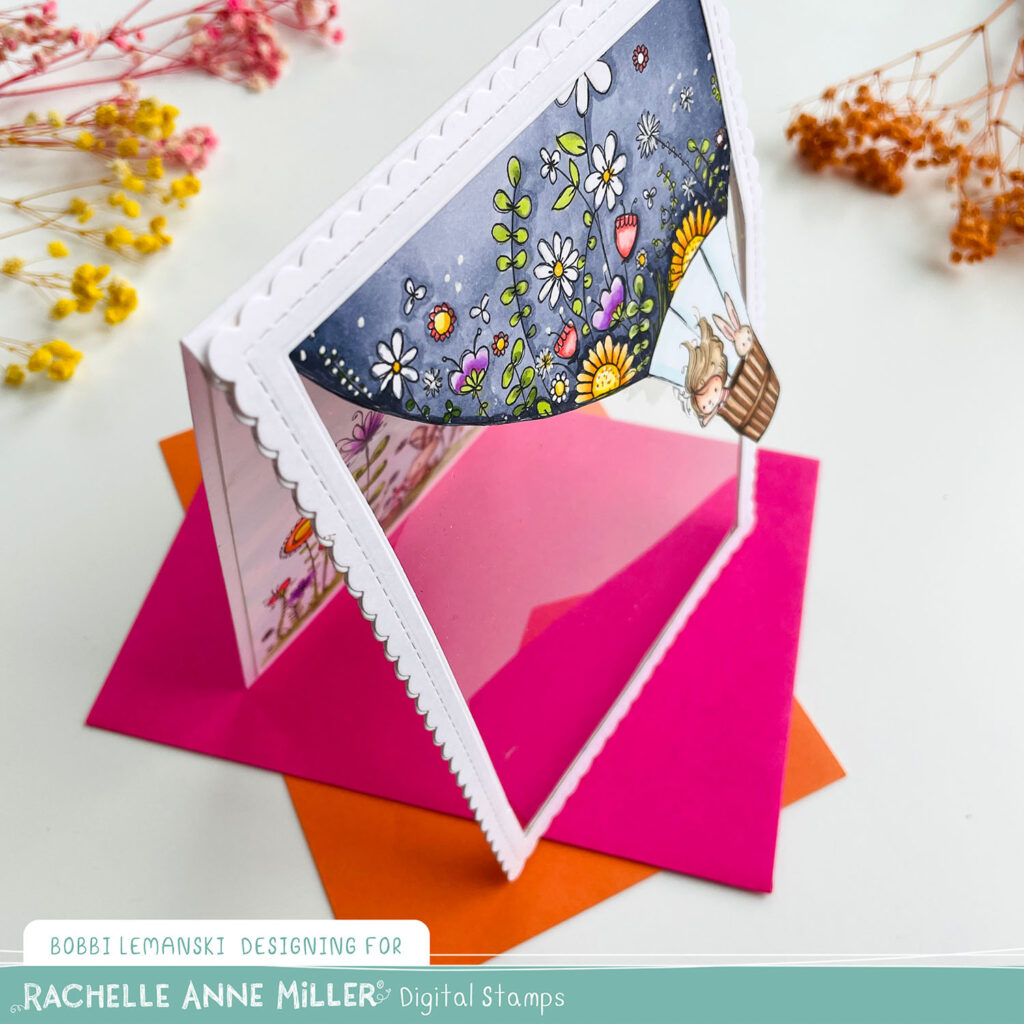
All of the layers were attached together in this order from top down:
- Top scallop frame
- Hot air balloon
- Acetate window
- Scallop frame backing
- Back panel hinge with the garden design attached to this panel
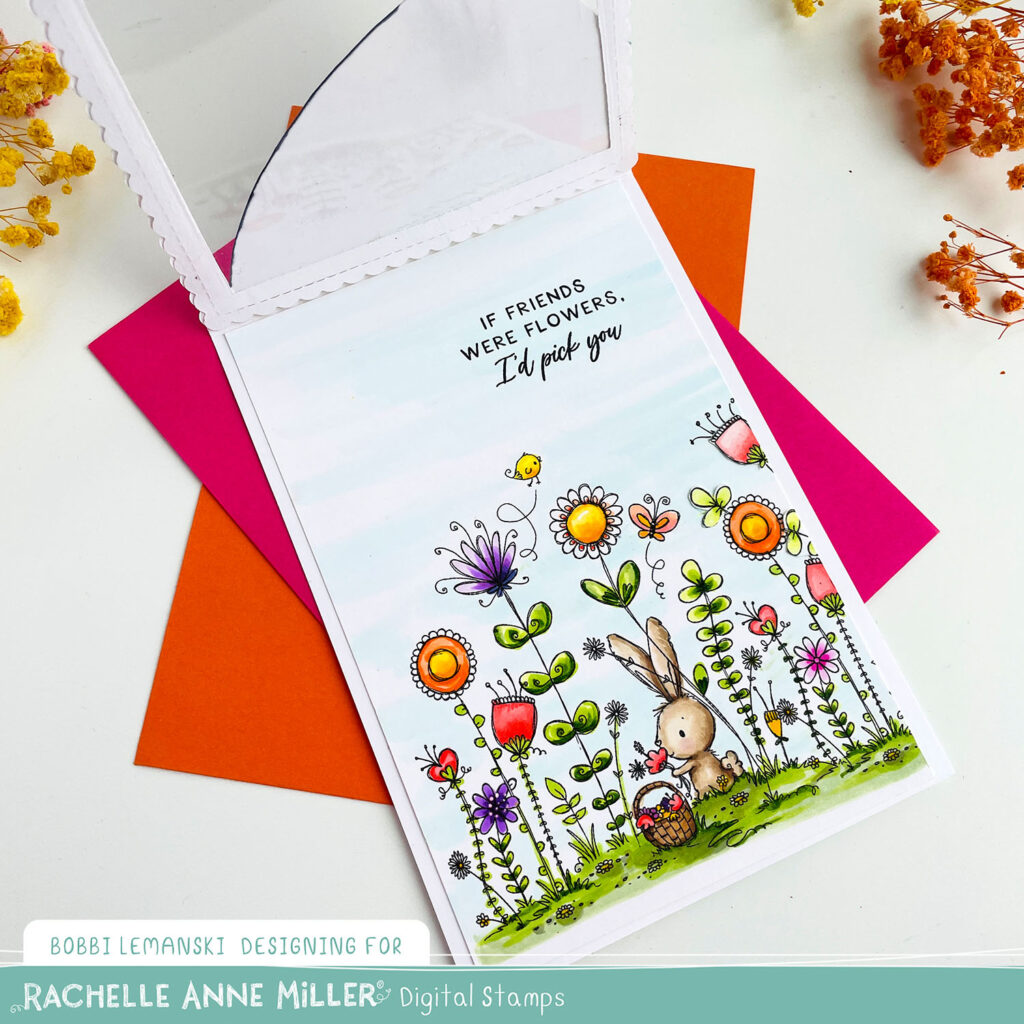
Lastly, I added a sweet verse from Honey Bee Stamps stamp set, Squeeze the Day inside to complete this card.
If you decide to place an order, please use the links in this post so that the companies know what inspired you. I appreciate it very much. It helps me to continue to bring more ideas to you!
Thanks for stopping by today. If you want to see more ideas and inspiration from me, subscribe to my blog, BobbiHartDesign.com. I’ll send you updates on new posts! You can also find me on Instagram as @BobbiHartDesign and on Facebook as BobbiHartDesign. Bobbi Hartmann Lemanski, Bobbi Hart♥ Design, Adding h♥art into every design