BLOG POST BY NICKY
Nicky's Blog
Nicky's Blog
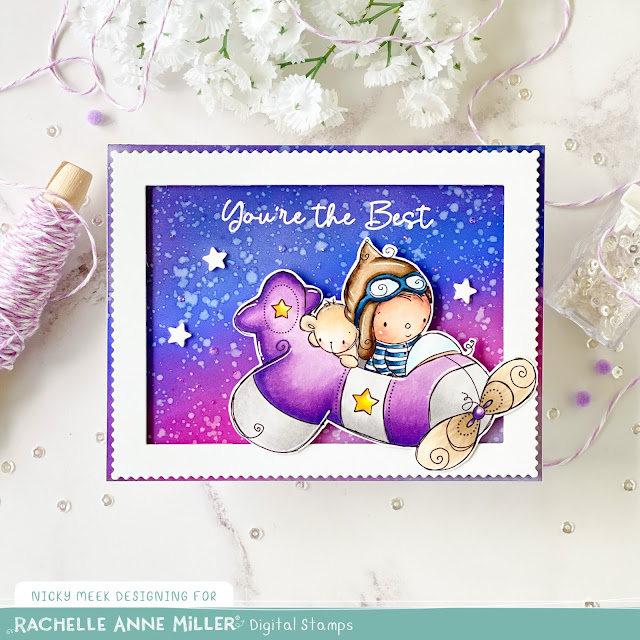
There's a brand new release of 4 digital stamps at Rachelle Anne Miller Creative Studios that you can now buy and my card today features the Little Pilot stamp. What's not to love about that chubby little plane?
To create this card I downloaded the digital stamp sent to my email and sent it to print on my home printer. You can print it on whatever cardstock you like that is right for how you intend to colour the image and for me I have no problems with ink running with Copic markers.
I fussy cut the image and then coloured it with Copic markers. Here are my colours:-
Striped Shirt and Goggles - B99, B97, B95, B93
Greys - T0, T1, T2
Purples - V17, V15, V12, V01
Teddy - E50, E51
Glass BG000
Skin E04, E11, E21, E000
Blush R00, R20, R21
Propeller and Aviator Hat E41, E42, E43, E44
Stars Y15, Y06
A few points were highlighted with a white gel pen and then I set this to one side for a little while to work on the rest of the card.
Using the colours from the Little Pilot image just coloured I created a background to tone with it. I blended a panel using Distress Oxide Inks in Shaded Lilac, Seedless Preserves, Blueprint Sketch and Chipped Sapphire. I splashed the background with water and blotted it up with a paper towel immediately.
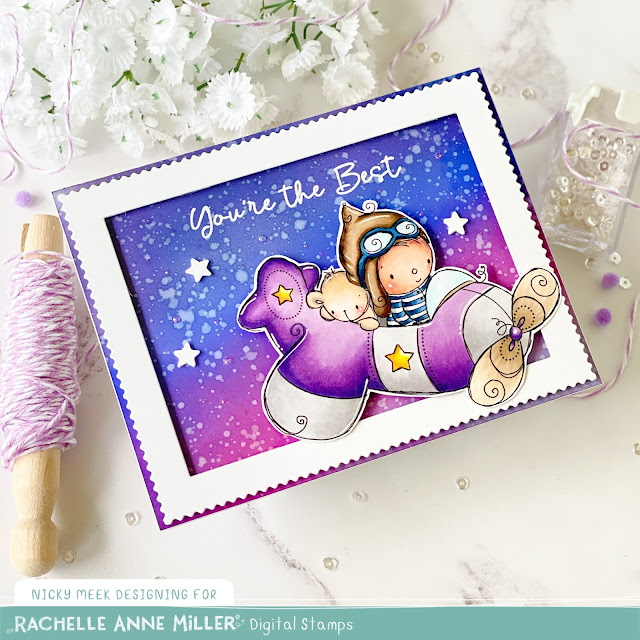
I hit the panel with my heat gun to speed up drying and then I stamped the sentiment from Maverick by Hello Bluebird Stamps using Versamark Ink and heat embossed in white. I die cut the frame using the Gallery Frame #4 die also from Hello Bluebird. I backed this with a single foam tape layer and applied it to the background. I inverted the Little Pilot image on a cork mat and using a round end on my stylus I made circular movements over the image but avoiding the edges. This makes the image curve, look nicely 3D and since I was applying a double layer of foam tape, it hides the tape underneath when viewed from an angle. The whole panel was applied to my sturdy white cardstock card base.
I die cut some star embellishments, stacked them and glued them together and applied these dimensional accents with a dot of glue.
Lastly I used Stickles Glitter in Diamond to dot in some interest to the sky for a little magical twinkle when the card is handled and it catches the light.
Card complete! Thanks for coming by today, I will be back with something new before you know it! Happy crafting.


